Basically, this tutorial will be a summary of the following tutorials + a few interesting tweaks:
- https://docs.microsoft.com/en-us/windows/wsl/install-win10
- https://docs.docker.com/docker-for-windows/wsl/
- https://www.ddev.com/ddev-local/ddev-local-and-phpstorm-debugging-with-wsl2/
Background:
To achieve acceptable performance, projects should reside in the Windows Subsystem for Linux (WSL for short) file system.
If, for example, PHPStorm (or alternatively WebStorm, or similar) is used for editing, it rarely or never registers changes to the files and just as rarely accepts them.
As a solution, you can install the development environment in WSL here.
Disclaimer: The whole manual is subject to change at any time. However, the associated documentation is linked.
1. Install Windows Subsytem for Linux
Detailed instructions can be found at Microsoft itself, so here is just a short summary:
1. Activate WSL:
dism.exe /online /enable-feature /featurename:Microsoft-Windows-Subsystem-Linux /all /norestart
2. Activate Virtual Machine Feature:
dism.exe /online /enable-feature /featurename:VirtualMachinePlatform /all /norestart
After that, the system must be restarted.
3. Download Linux Kernel Package:
To do this, simply start and execute the direct download from the Step 4 instructions linked above or here: https://wslstorestorage.blob.core.windows.net/wslblob/wsl_update_x64.msi
4. Set WSL2 as Default Version:
wsl --set-default-version 2
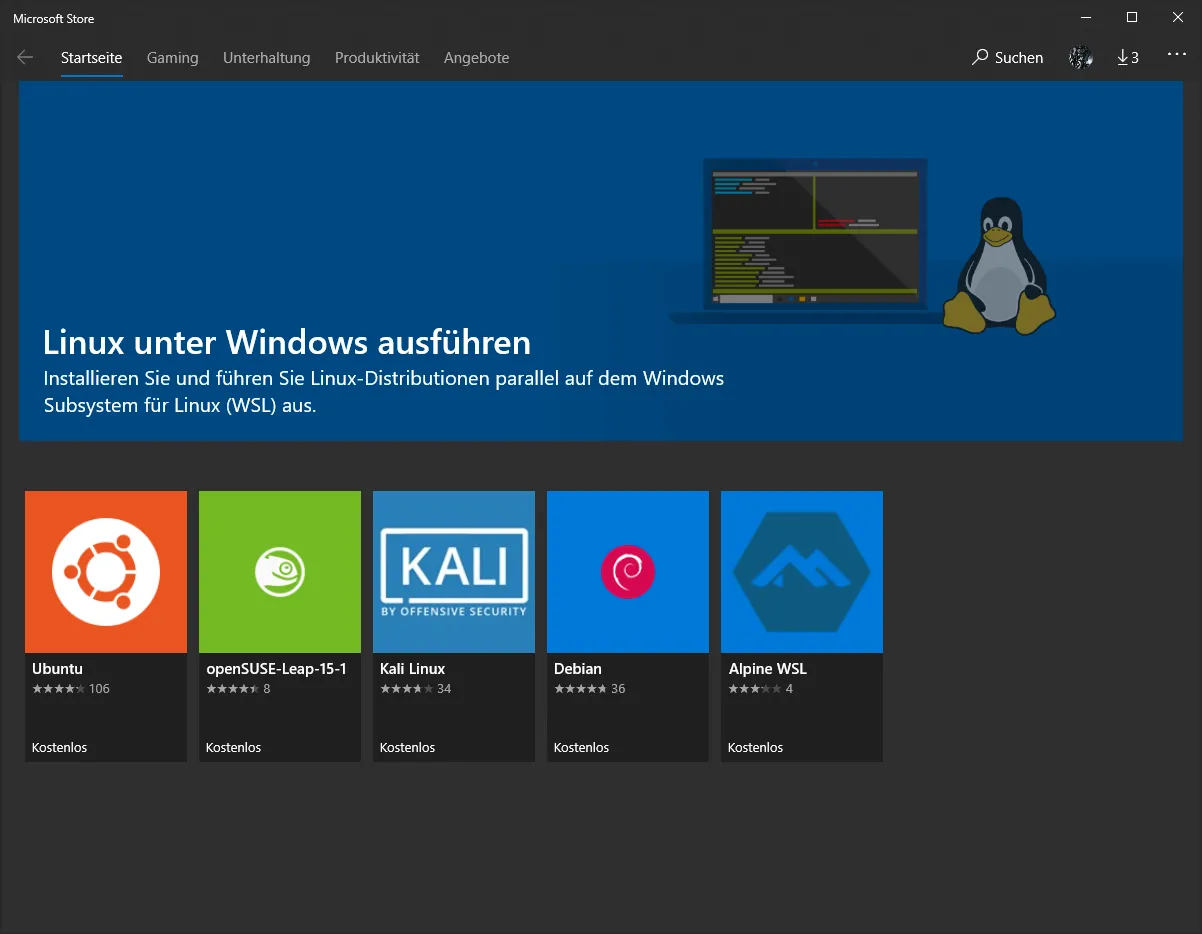
5. Install a Linux Distribution:
For this purpose, a Linux distribution can be selected in the Microsoft-Store.
6. Set up a new Linux distribution:
The Linux distribution can then be started via the command
wsl
, alternatively the distribution can also be started via "Start".
At the first start a user name and a password must be assigned then once.
If a WSL1 - Linux distribution was already installed, it can be converted to WSL2 using the following commands:
wsl --list --verbose
wsl --set-version <distribution name> <versionNumber>
For this purpose the standard version should also be set:
wsl --set-default-version 2
2. Install Docker
Docker is simply installed according to the setup. To do this, it is first downloaded:
https://hub.docker.com/editions/community/docker-ce-desktop-windows/
On supported systems (Windows 10 version 1903 or later), the setup automatically detects that it can use WSL 2.
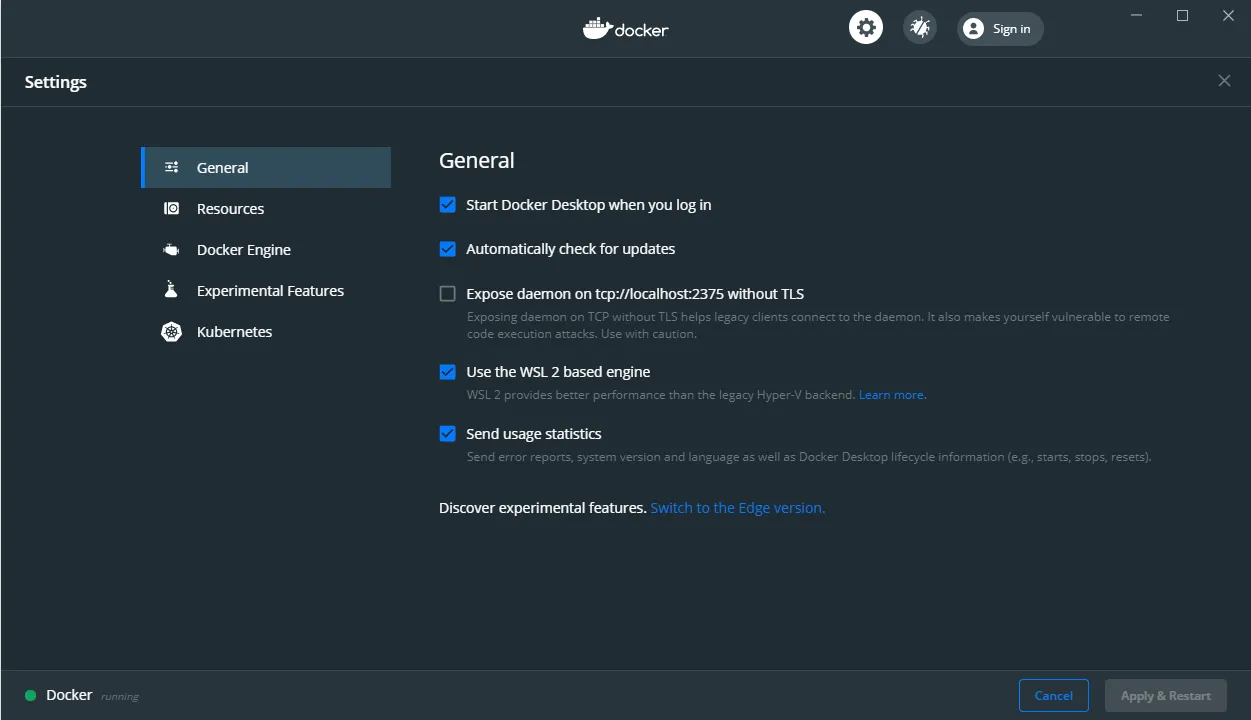
After the installation, start Docker from the Windows Start menu. Select the checkbox "Use the WSL 2 based engine" if it is not already selected. Click on "Apply & Restart" to apply the changes.
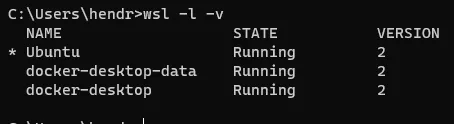
To check the WSL mode, execute the following command:
wsl.exe -l -v
An existing distribution can be updated to WSL 2 with the command:
wsl.exe --set-version (distro name) 2
And to set version 2 as default, execute the command:
wsl.exe --set-default-version 2
You can specify which distribution Docker runs in under Settings > Resources > WSL Integration.
By default, it runs in the default WSL distribution. You can change this using the command
wsl --set-default <distro name>
The name is the same as listed under
wsl.exe -l -v
This may then look like this:
3. Install PHPStorm
PHPStorm can of course also be installed normally, as you know it from Windows programs: https://www.jetbrains.com/phpstorm/
The project itself can be located under /mnt/ (directly accessible via Windows Explorer), but then the performance is quite bad. As a workaround you can move the projects to the file system of WSL2, for example to /home/<username>/.../<projectdir>.
In PHPStorm the project can then be called via the path \\wsl$\Ubuntu\home\<username>\...\<projectdir>. Quickly it becomes clear that PHPStorm does not reliably recognize changes to the files...
This can be worked around by installing PHPStorm directly into WSL2 and using an X11 server to display the windows in Windows. This requires the following steps:
First of all, the X11 server must be installed. This can be downloaded here for example: https://sourceforge.net/projects/vcxsrv/
VcXsrv is then started by means of a config file. This can look as follows (can be saved as "config.xlaunch" for example):
<?xml version="1.0" encoding="UTF-8"?>
<XLaunch WindowMode="MultiWindow" ClientMode="NoClient" LocalClient="False" Display="-1" LocalProgram="xcalc" RemoteProgram="xterm" RemotePassword="" PrivateKey="" RemoteHost="" RemoteUser="" XDMCPHost="" XDMCPBroadcast="False" XDMCPIndirect="False" Clipboard="True" ClipboardPrimary="False" ExtraParams="-ac -terminate -lesspointer -dpi auto" Wgl="True" DisableAC="False" XDMCPTerminate="False"/>
The file can also be placed in the autostart, then the X11 server starts already preconfigured at login.
Windows Defender blocks access from WSL to the X11 server by default: https://github.com/microsoft/WSL/issues/4139
Access can be allowed via firewall rules:
- Search for "Windows Defender Firewall with Advanced Security" in Windows Search and search for "VcXsrv windows server" under "Incoming rules".
- For the entry for Public and TCP the action must be set to "Allow", but only for the remote address "172.16.0.0/12". The values can be made via a right click on the corresponding entry and properties. The IP is entered under "Range" and "Remote IP address".
By default, the WSL2 is assigned an IP address that comes from this range. If it has been configured differently, this must of course be adjusted accordingly.
Edit: the range around "192.168.0.0/16" should also be entered, as this is also used by WSL2.
The settings will then look like this:

And the entire rules something like this (the rule to be edited is highlighted):

Now the X11 client and associated software must be installed in WSL2:
sudo apt-get update && sudo apt-get install libatk1.0 libatk-bridge2.0 libxtst6 libxi6 libpangocairo-1.0 libcups2 libnss3 xdg-utils x11-apps
and by using the command
export DISPLAY=$(awk '/^nameserver/ {print $2; exit;}' </etc/resolv.conf):0.0
the destination address of the X11 server is set. This can also be entered in the ~/.profile, then this does not have to be executed manually every time the system is started.
Now PHPStorm can also be installed. This is done relatively easily:
The tar.gz from https://www.jetbrains.com/phpstorm/download/ (tab "Linux")is unpacked into the desired directory, and started with the command
bin/phpstorm.sh &
If you want to have a desktop icon, you can create it like this:
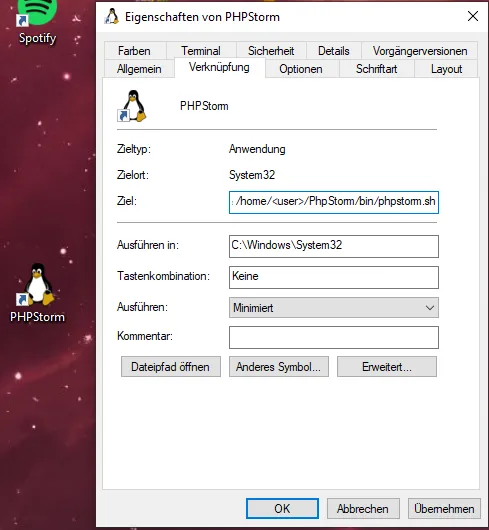
Right click on the desktop and under "New" select "Create shortcut". Then specify the following address as the target:
C:\Windows\System32\wsl.exe -d Ubuntu -- export DISPLAY=$(awk '/^nameserver/ {print $2; exit;}' </etc/resolv.conf):0.0 && /home/<user>/PhpStorm/bin/phpstorm.sh
The path to phpstorm.sh must then be adjusted.
With a right click on the link and "Properties" the icon can be adjusted.
4. (Optional) Enlarge the file system of the WSL2
Under certain circumstances, the default size of 256GB can be reached in WSL2. However, the size can be changed via a few entries. To do this, the following steps must be followed under "Expanding the size of your WSL 2 Virtual Hard Disk":
https://docs.microsoft.com/en-us/windows/wsl/vhd-size
Translated with www.DeepL.com/Translator (free version)
Questions or comments?